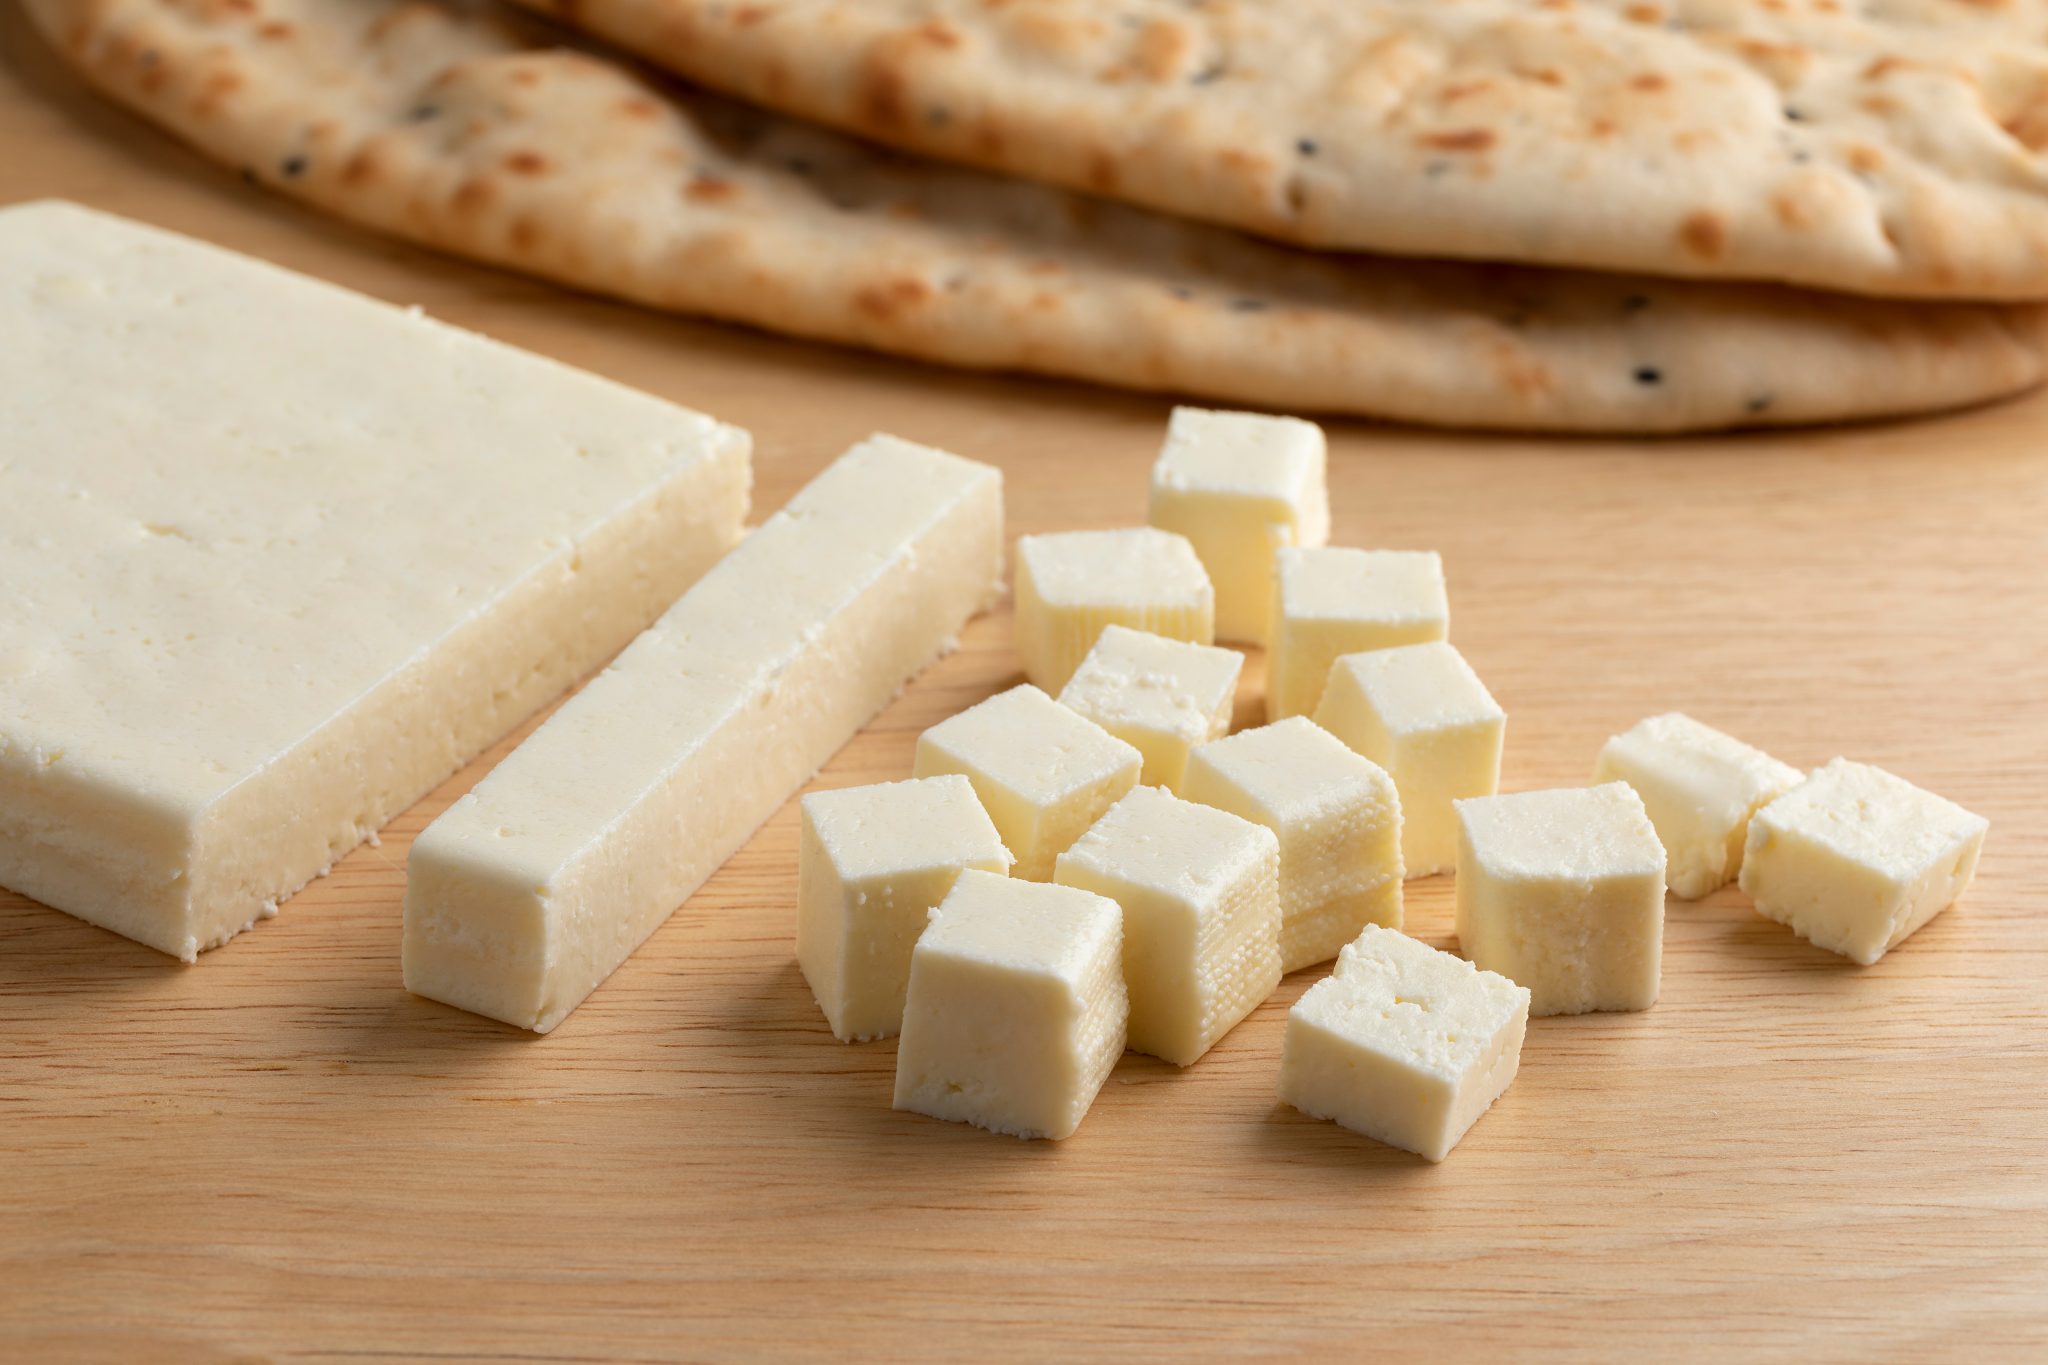
Making homemade paneer is a great way to save milk that’s on the brink from the bin. This fresh cheese is great in curries and salads—or as a snack on its own.
Directions
-
Pour the milk into a saucepan and bring to a simmer over a low heat, stirring occasionally. This should take about 30 mins.
-
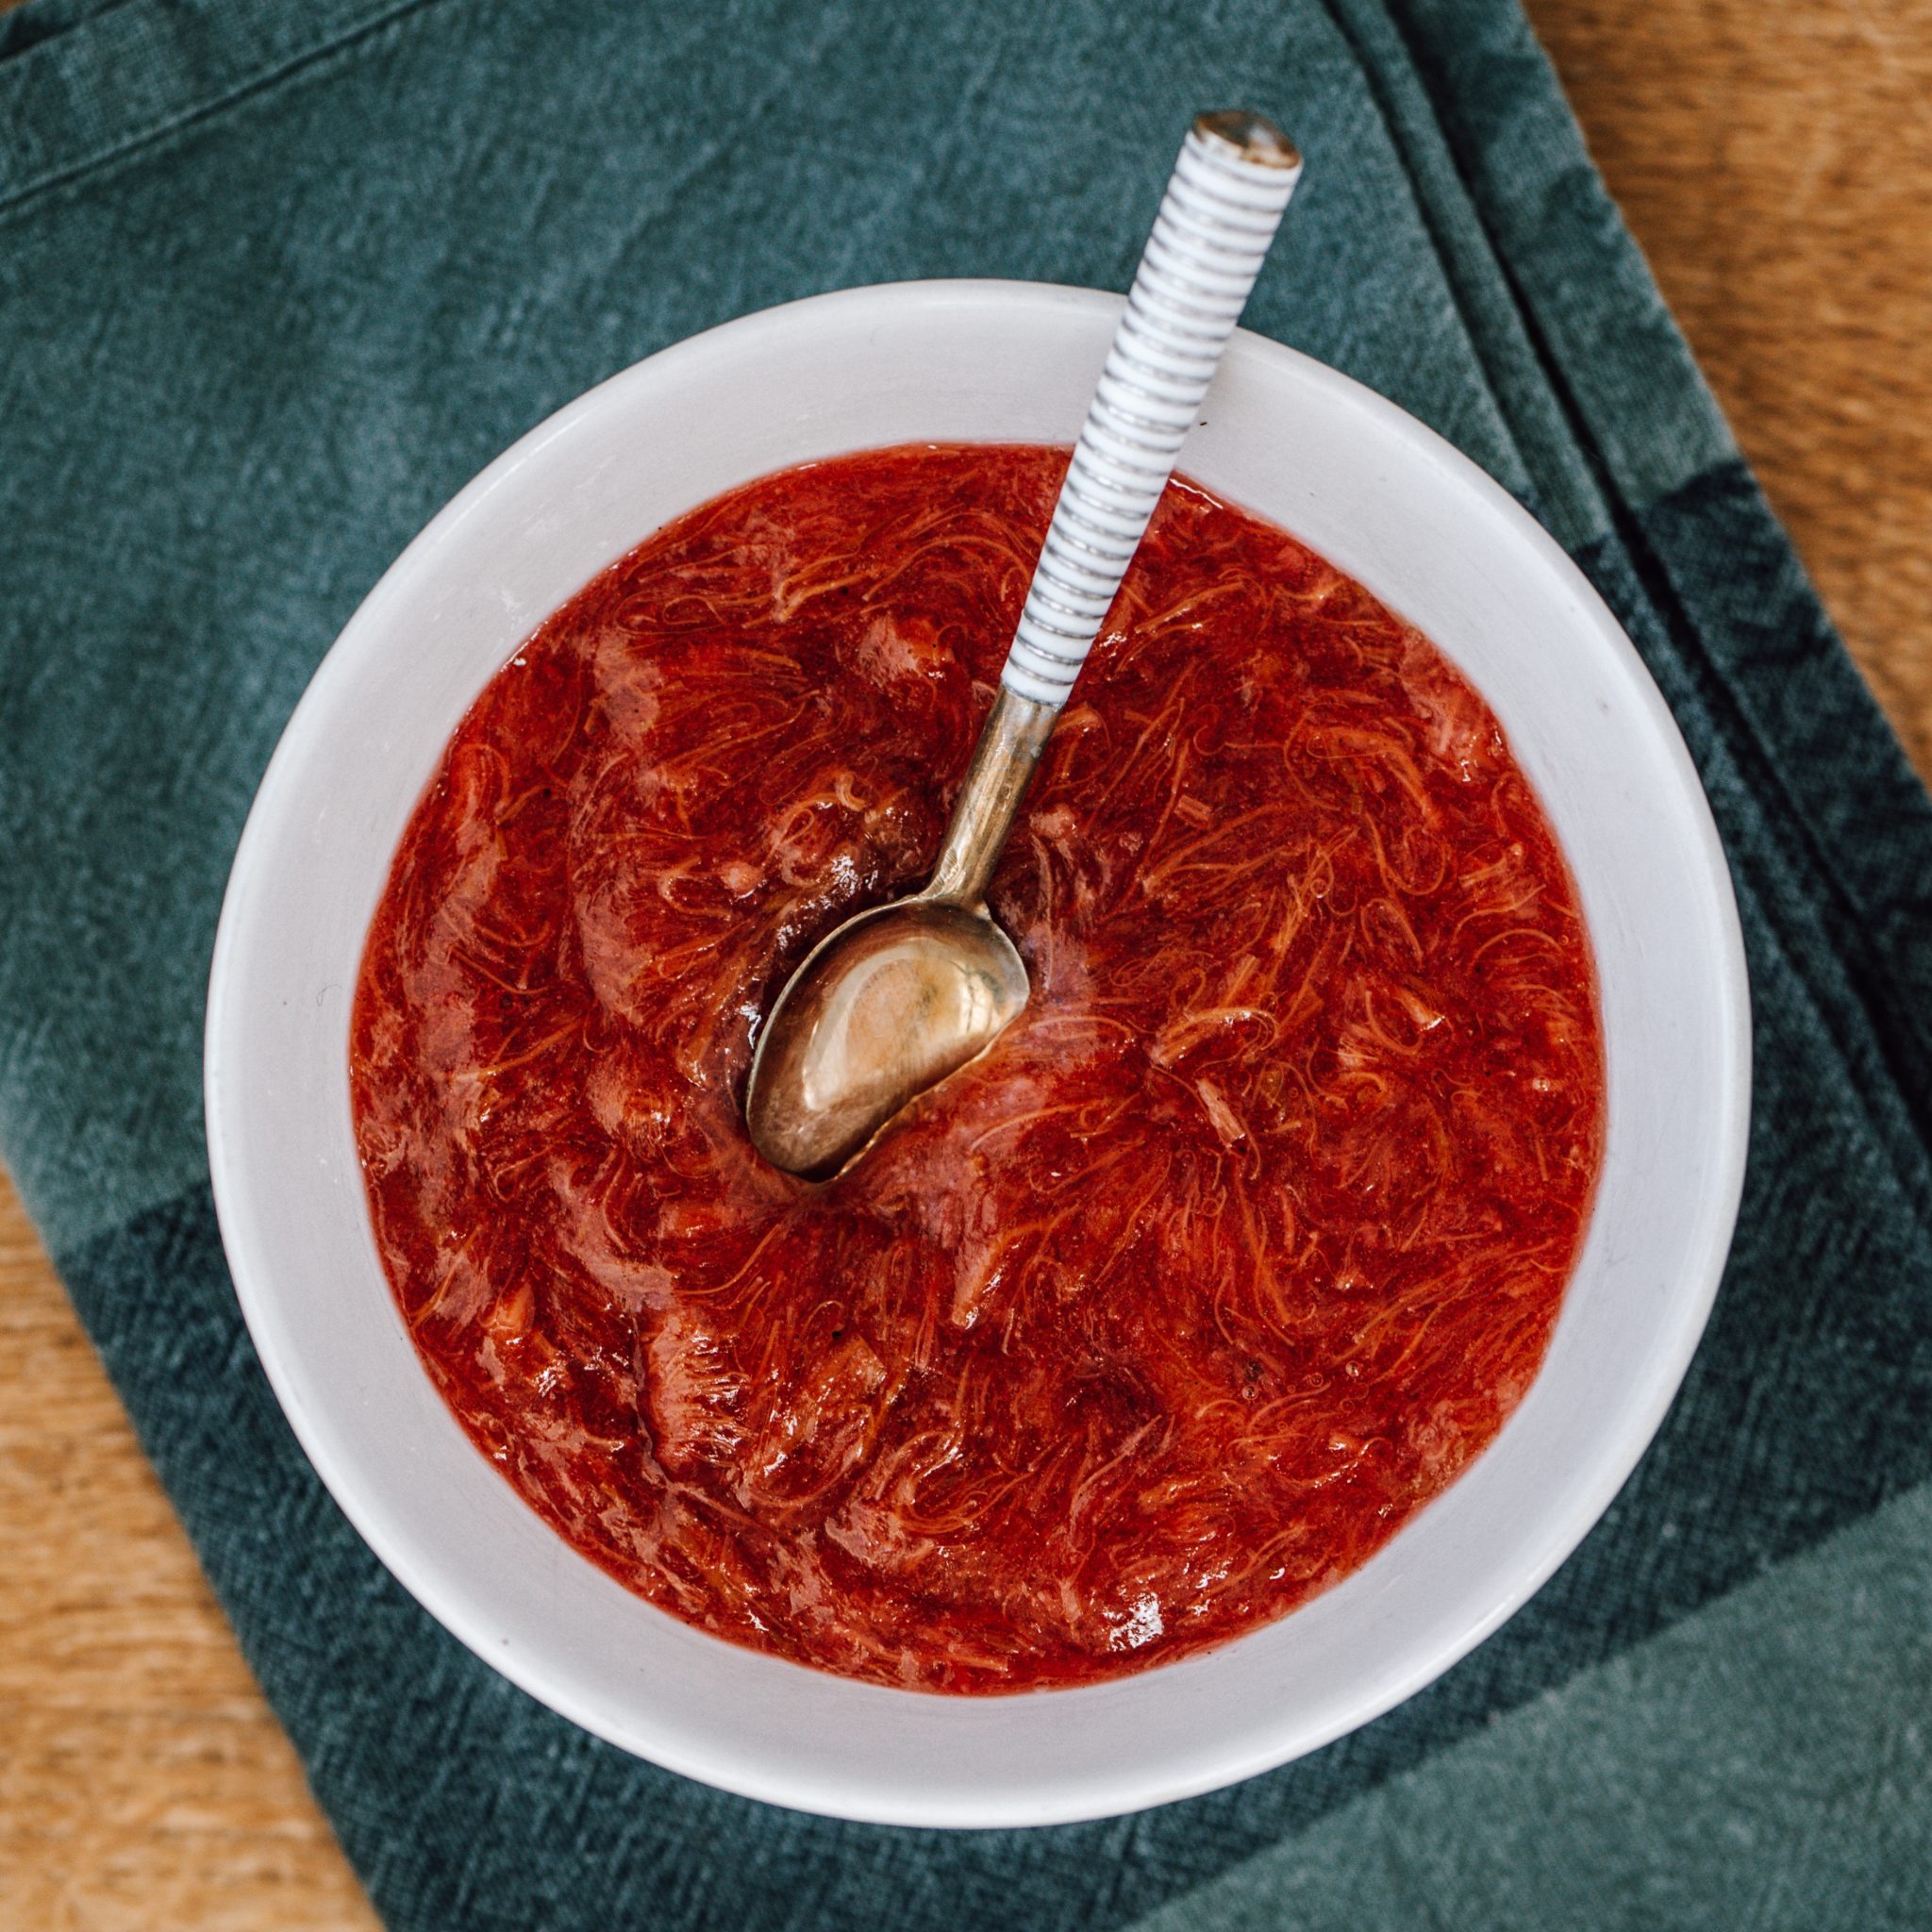
Once it begins to bubble and rise up the sides of the pan, add 2 tbsp lemon juice and the salt – the milk will quickly separate. Add another 1 tbsp lemon juice, or enough to turn the milk into curds and liquid whey. Simmer for 1 min before turning off the heat. The amount of lemon juice needed will depend on the milk’s freshness.
-
Line a sieve with a double layer of muslin and set over a bowl. Pour the cheese mixture into the sieve and leave for about 10 mins to allow the whey to drain through the cloth. Draw the muslin around the paneer and gently squeeze out any excess liquid.
-
Transfer the cloth-wrapped cheese to a tray and pat it out into a 2cm-thick rectangle. Cover it with a tray and a couple of heavy tins and transfer to the fridge for at least 2-3 hrs. Unwrap the paneer – if you’re not using it straight away, submerge it in cold water and keep it in the fridge.
-
 Paneer works best with milk that isn't fresh – try and use milk with a high fat content that's reached its use-by date (but hasn't gone off).
 -
 Your homemade Panner will keep in the fridge for up to three days—add to curries, salads or enjoy as a snack on its own.